1. DateTime Aggregation
How to use the web3 analytics tool
Datetime Aggregation
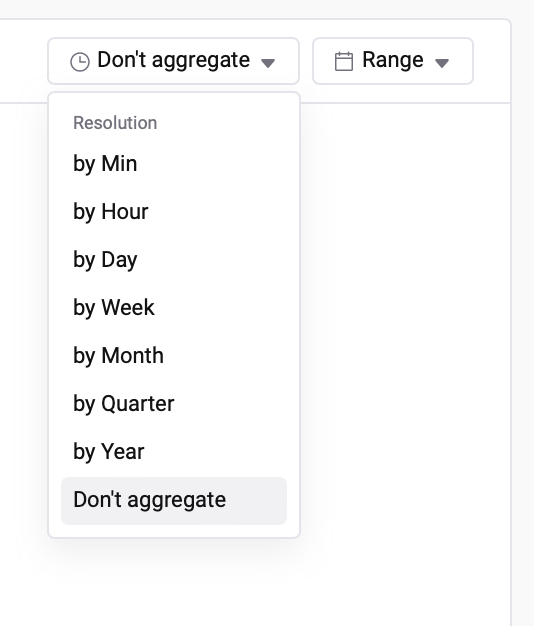
By choosing a table and adding a Query block, you'll find a menu at the top that features the "Time Resolution" dropdown, and a "Range" dropdown.
Once these options are set, the system will automatically generate the time series data based on the selected configurations, simplifying the process of working with time series data.
Using datetime
Datetime is automatically included in your query results.
The datetime reference for each table has already been established beforehand. For instance, in the transaction data table, "block_time" is automatically utilized as the time reference.
Time resolution dropdown
In the “Time Resolution” dropdown, you can choose the time unit to use for statistical analysis. The "Do not aggregate" option allows you to view data without any aggregation. If this option is selected and an aggregate function is used in the metric section, an error will be displayed.
To aggregate the data, select options like Day, Hour, or Minute. For example, if you are calculating the sum(amount) of transactions in the metric section and set “Day" as the resolution, you can view the daily total of transaction amounts.
When a resolution is chosen, it is important to specify an aggregate function in the metric; if only a column is used without an aggregate function, a query error will occur as the method for calculating the statistics is not specified.
Range
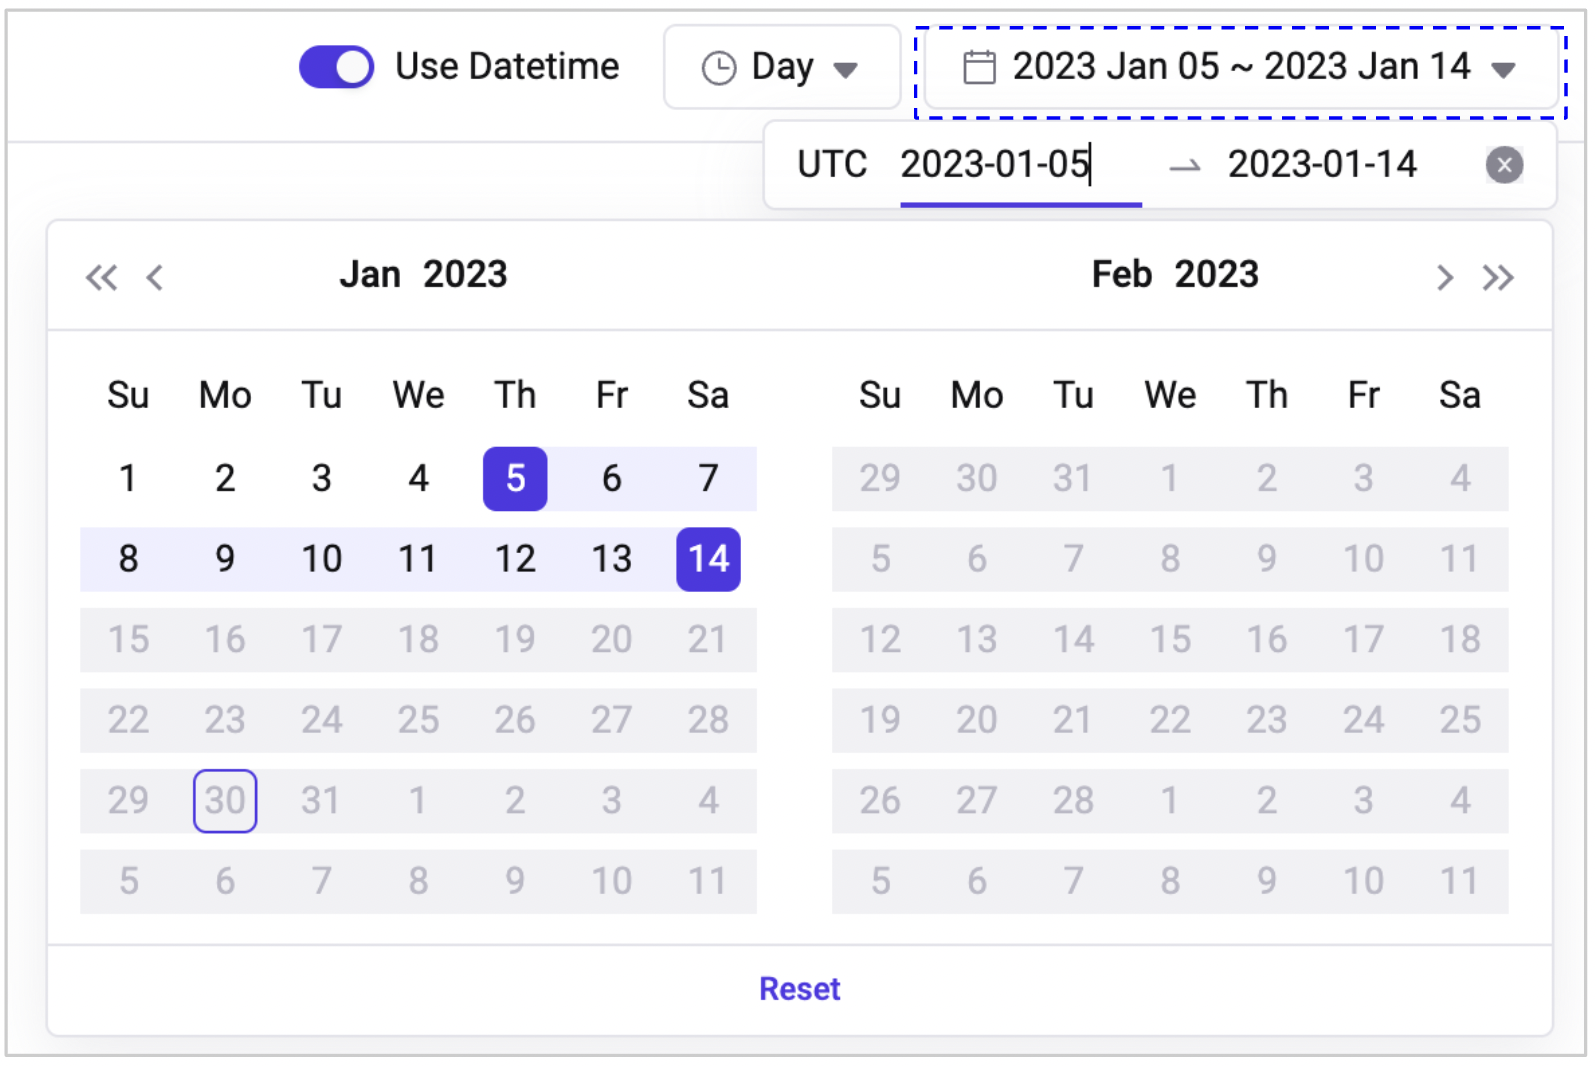
In the Range dropdown, you can choose the time range in which you want to view the results. If you don't select a range, it will show the entire duration.
It's also possible to only select one of the "from" or "to" options, in which case the unselected part will be considered the full range.

Last updated
Was this helpful?
